isolved Time - Entering Timecards

Updated at March 24th, 2022
The purpose of this article is to outline how to create a new timecard in isolved.
There are three means of entering timecards into isolved.
1) Quick Punch: The Quick Punch is designed to replicate the traditional time clock "punch in / punch out" experience. The Quick Punch will timestamp the timecard entry.
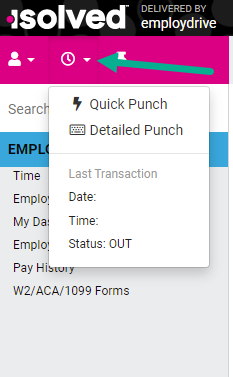
- Login to isolved and navigate to the white drop down arrow next to the clock icon in the upper left corner of the page.
- Click Quick Punch
- As soon as the punch is saved, a green pop up message will appear confirming the save.
- Repeat the same process to punch out.


2) Detailed Punch: The Detailed Punch is similar to the Quick Punch but also allows the employee to control the Type of punch. The three types of punch include: Normal, Meal, Break.
- Login to isolved and navigate to the white drop down arrow next to the clock icon in the upper left corner of the page.
- Click Detailed Punch
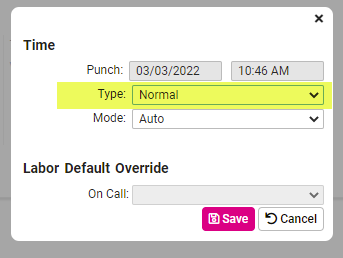
- A pop up box will appear and allow you to change the punch Type. Select the correct Type and then click Save.
- As soon as the punch is saved, a green pop up message will appear confirming the save.
- Repeat the same process to punch out

3) Timecard: If your organization does not require you to punch in and out each day, you may create timecards. This method allows you to set the date and time. You can also create timecards for prior days within the same pay period.
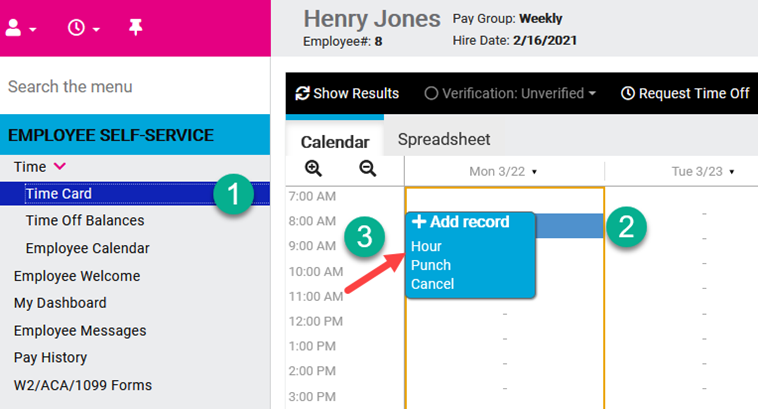
- Navigate to Employee Self Service à Time à Time Card
- Click on the Day/Time which opens a blue box to Add record
- Click Hour
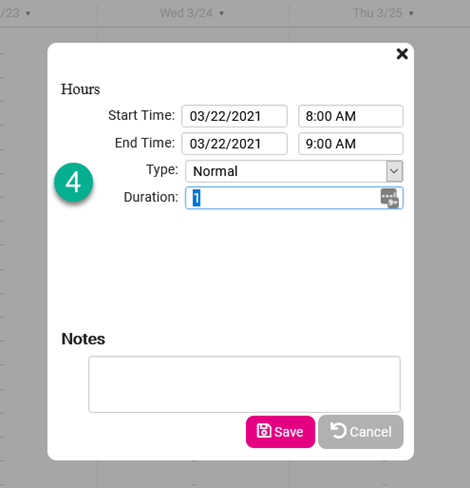
- Enter Start/End Time (or duration) and then click Save
- If entering a Meal, change the Type from Normal to Meal
- If entering a Break, change the Type from Normal to Break
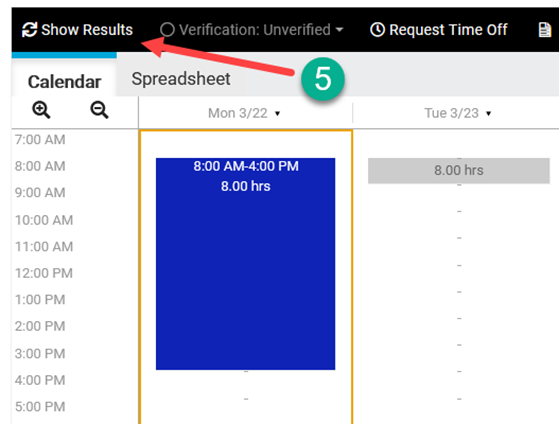
- Click Show Results
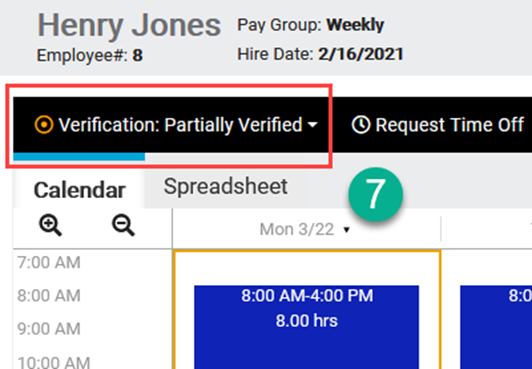
- At the end of the pay period, click the white down arrow next to Verification: Unverified and Check the Box next to Employee to verify the time card
- The employee has completed the necessary steps at this point and the time card is Partially Verified and ready for Manager or Supervisor Approval