Adaptive Employee Experience: Time Card Entry
The purpose of this article is to explain how to enter time cards using isolved's Adaptive Employee Experience. This content is relevant if your organization is using isolved Time.
There are three ways to create a time card in Adaptive Experience. Your organization may or may not be configured to offer all three options.
Quick Punch
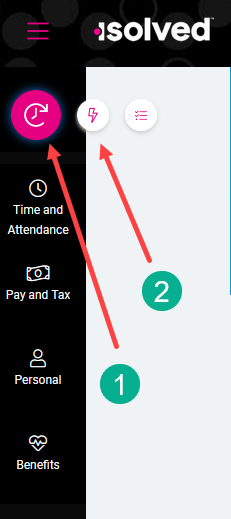
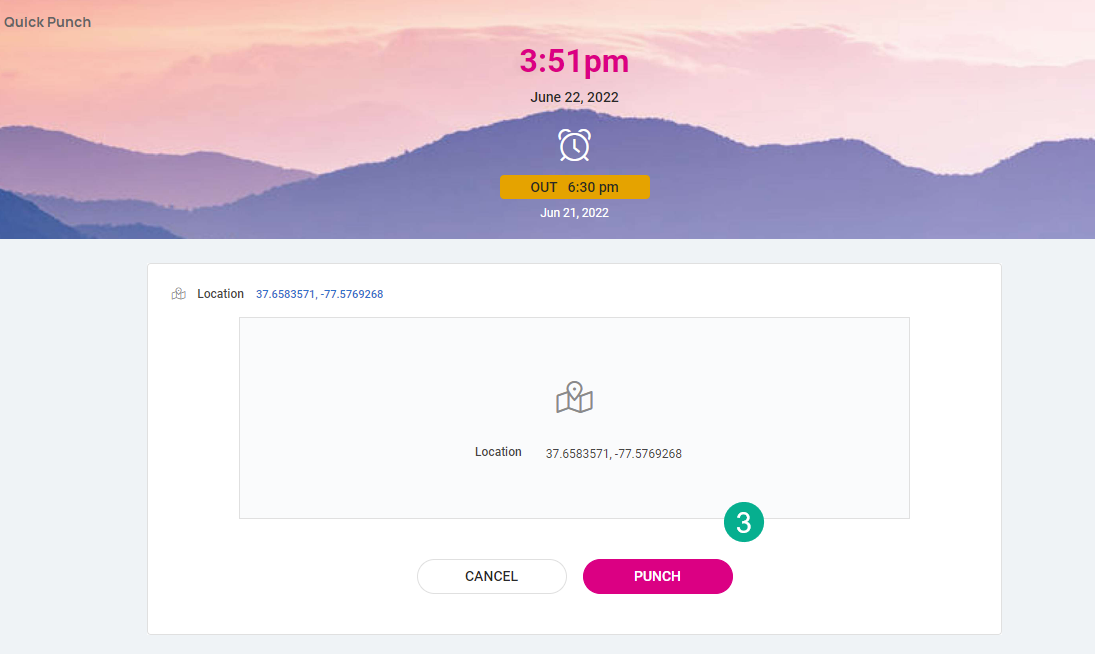
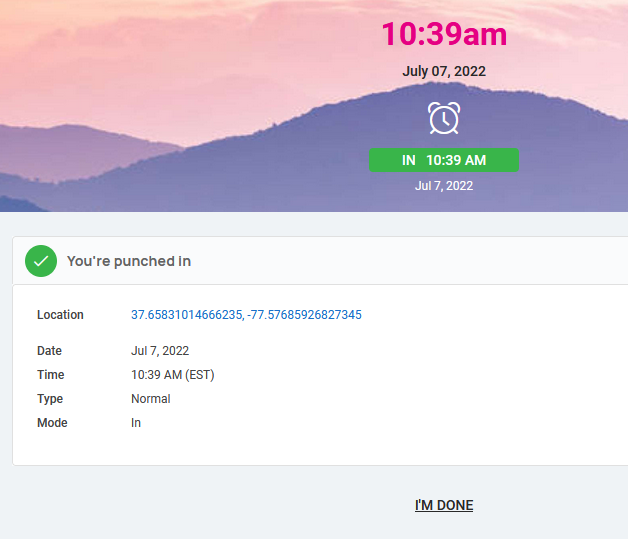
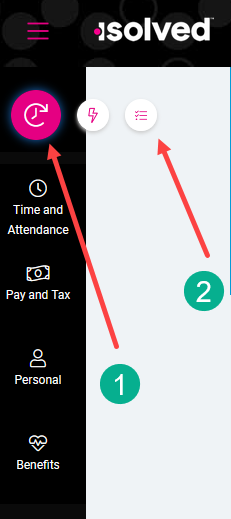
Using “Quick Punch,” the system will create a punch for the current date and time, without the option to add punch notes or any other punch options. To enter a Quick Punch, click the pink clock icon, then click the lightning icon. On the next screen, click Punch. Once the punch is created you will see a punch confirmation.
Detailed Punch
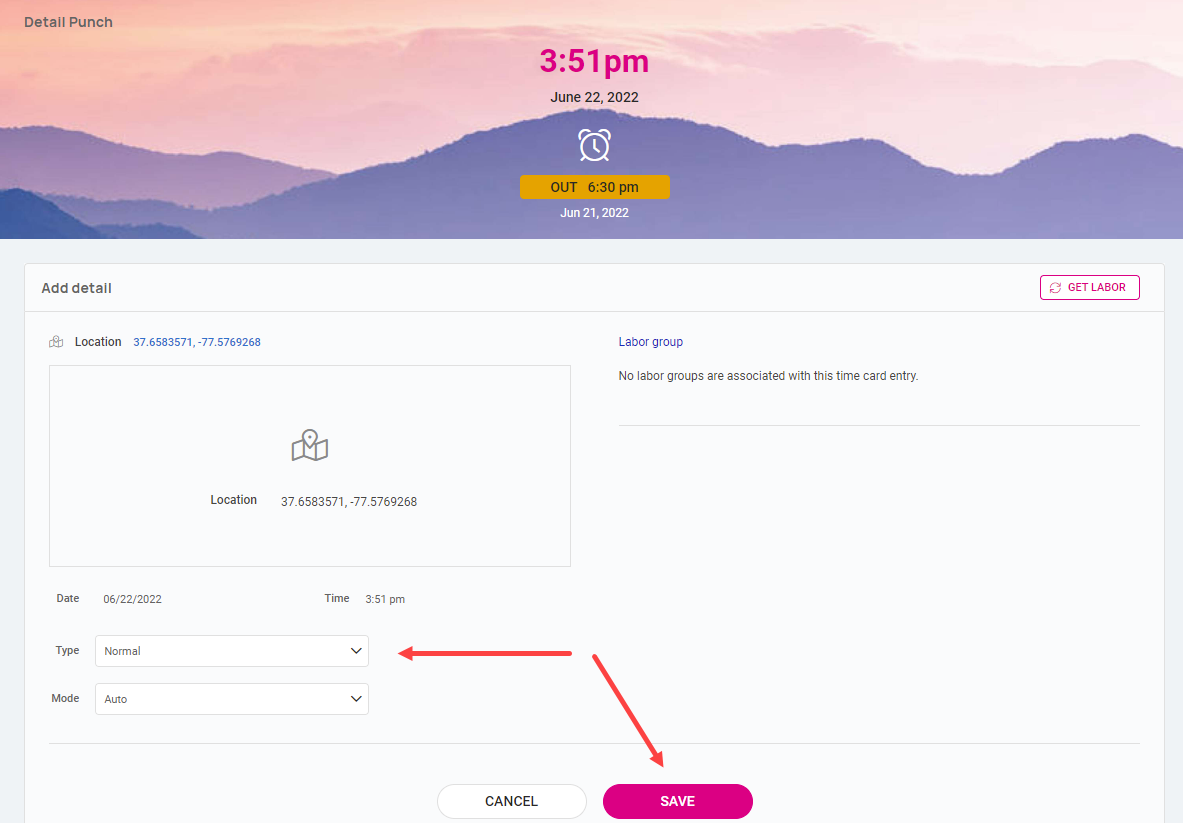
If you select “Detailed Punch,” the system opens a creation screen and displays the current date and time. Note: The Date and Time fields are not editable during Self-Service punching. The punch options available in the detailed punch screen are as follows (options on this screen may differ based on your company permissions).
- Type: Allows you to specify the Punch Type for the entry. The options are “Normal,” “Meal,” and “Break.”
-
Mode: Allows you to specify if the punch is an “IN,” “OUT,” “AUTO,” or “TRANSFER.”
- IN means you are clocking in and is typically used when you are first in for the day or coming back from a break or meal.
- OUT means you are clocking out and is typically used when you are leaving for the day or leaving for your break or meal.
- AUTO allows the system to determine the status of the punch.
- TRANSFER allows you to move from one labor value to another without having to create multiple punches. When using the transfer option isolved creates two punches; one clocking you out of your current labor and one clocking you into the labor you transferred to.
- Labor: If the option to enter labor allocations is enabled, select from the allowed labor levels when creating a punch. If no labor is selected, isolved uses your default labor allocation.
- Notes: If notes are entered, anyone looking at the Time Card is able to view the details.
Creating a Detailed Punch is similar to a Quick Punch. To enter a Detailed Punch, click the pink clock icon, then click the icon with three bars (to the right of the lightning icon). On the next screen, enter the Type, Mode, Labor (if applicable) and Notes (if applicable). Once the punch is created you will see a punch confirmation.
Time Card
If your organization is configured to bypass the punch options, you may create a Time Card which allows you to set the start and end time for the work day. When entering a time card, you will be presented with the same Type, Labor and Notes options depending on how your organization is configured.
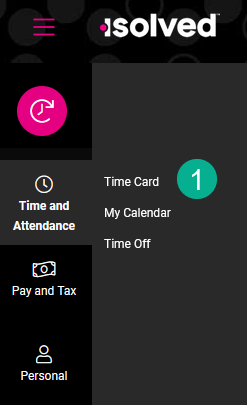
- Using the navigation pane on the left side of the page, click Time and Attendance then click Time Card
- The Time Card view will default to the current work week. Click the ADD Record drop down in the upper right side of the page, then click Hours.
- Enter the Start/End Date, Start/End Time, Type, Labor (if applicable) and Notes (if applicable)
- Click Save
- Upon saving the record, isolved will route the user back to the time card view of the work week. You will see your time card entry saved.
- The hours total for the day and the week are displayed on the right side of the page.


Time Card Verification
The employee time card verification process in Adaptive Experience is identical to the process in isolved's classic user interface. Navigate to the Time Card view and click the Verification drop down menu in the upper right side of the page. Check the Employee box to verify the time cards for the pay period. Once checked, the verification status will change to Partially Verified.


Manager/Supervisor Verification:
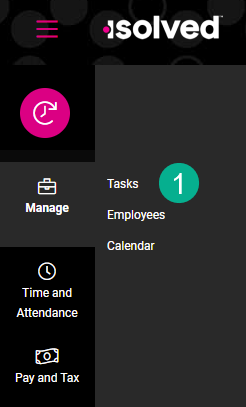
When a manager or supervisor logs into Adaptive Experience, they will see a Manage icon in the navigation pane on the left side of the page. To verify time cards:
- Start by clicking on the Tasks link
- If there are time cards ready to be approved, click the Review button in the Time Card section on the right-hand panel of the page to View and approve time cards
- On the next screen, scroll down to see a list of all employees whose time cards are ready for manager or supervisor approval
- If you want to approve multiple time cards in one action, click the pink Approve # icon to approve all, or check the individual employees in the "Your Approval" column
- If you want to review and approve an individual employee, click on the employee's name in blue.
- Click the pencil icon under Verification Status to approve the time cards for the pay period
- You may expand the work day to see the In/Out time by clicking the pink carrot icon to expand or collapse the day
